Plan a Photo Grid or Seamless Carousel
Calculate tile sizes, check the leftover pixels, and verify order before publishing a grid or carousel.
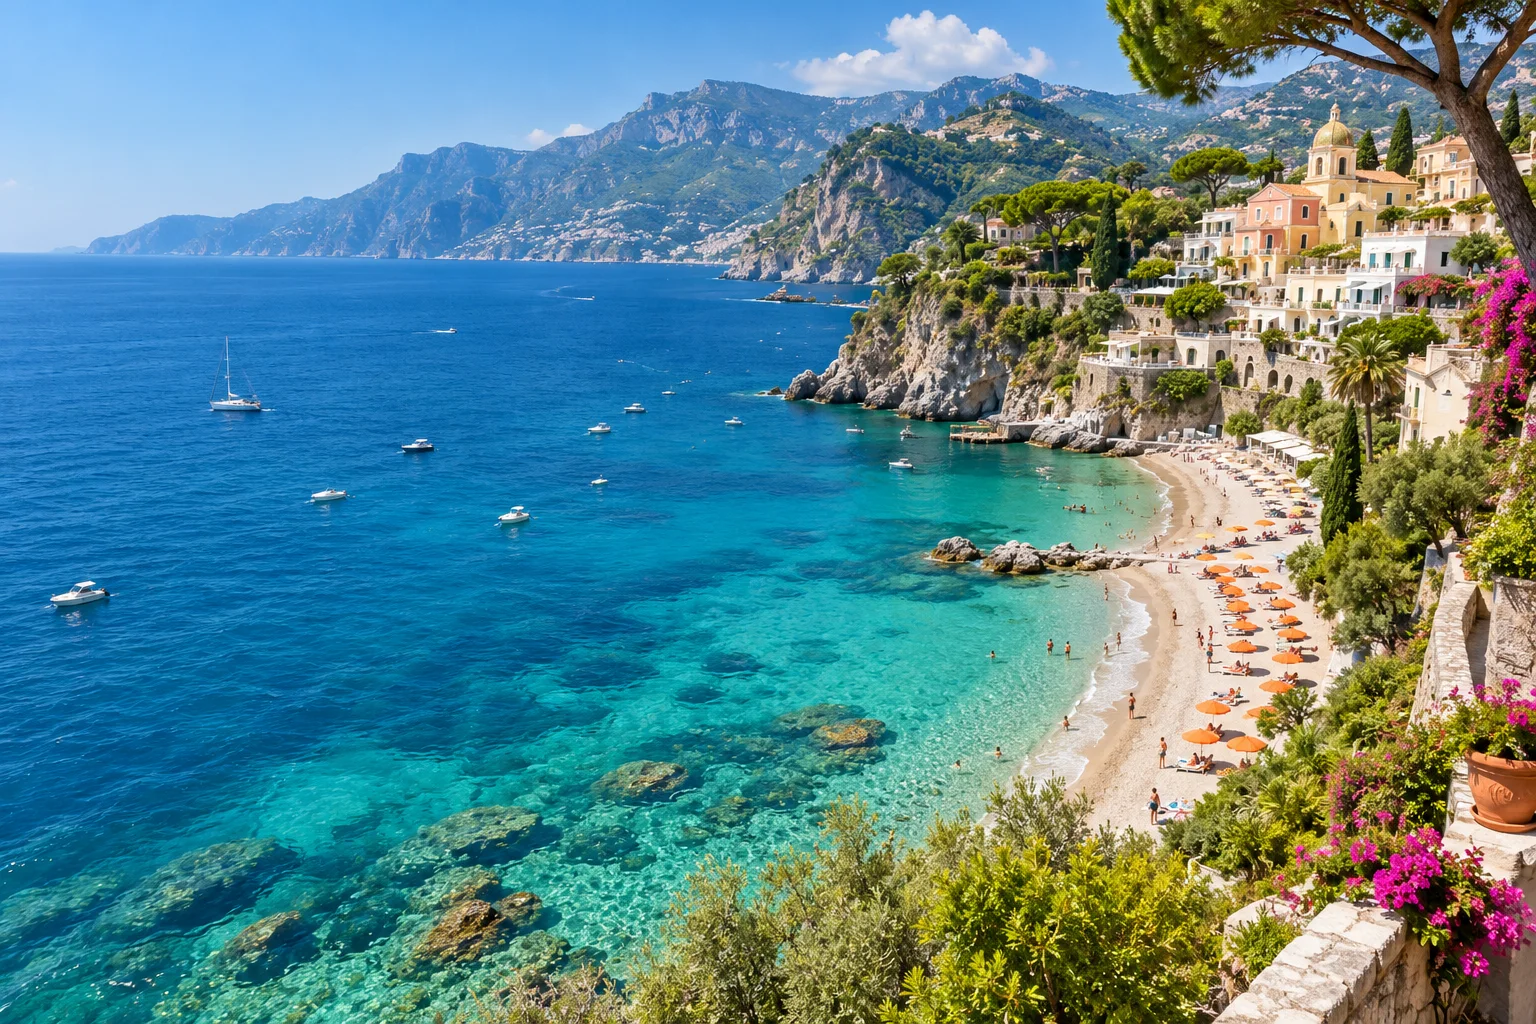
| Source (px) | Rows × columns | Each tile (px) |
|---|---|---|
| 1536 × 1024 | 2 × 3 | 512 × 512 |
| 1080 × 1080 | 3 × 3 | 360 × 360 |
| 3240 × 1080 | 1 × 3 | 1080 × 1080 |
Start from the size of one finished tile
Choose your rows and columns based on how the pieces will be shown. If the destination needs square tiles that are 1080 pixels wide, a nine-tile layout needs a 3240 × 3240 working image. A horizontal carousel made from three equally sized square files needs a 3240 × 1080 source. The calculator is simple: multiply the tile width by columns and its height by rows. The tool does not add padding when you choose a preset, so crop or prepare your working image before splitting it.
The table below uses exact divisions. A 1080 × 1080 source split into nine tiles produces three rows of 360-pixel squares. It does not produce nine files of 1080 × 1080 pixels. Start from the target dimensions if the next service requires them, and verify accepted dimensions and image placement in that service before publishing. These examples describe image geometry and do not depend on a platform’s current layout.
Use the preview to protect important details
With Grid selected, set the two numbers from the table. Check every cut while looking for eyes, logos and readable text. A skyline or long horizon can make an excellent continuity check because a misplaced tile is easy to spot. A face divided along an edge may look awkward when the individual panel appears by itself. Shift the crop rather than assuming viewers will always reach the next panel.
Choose Carousel when the image should read left to right in one row. Use Vertical when you want sections of a tall image. A central subject and generous margins make it easier to adapt an image to different crops. If a receiving service automatically crops slices, test with a draft and judge how much space remains on each side. Keep some room around text to avoid losing it in thumbnails.
Inspect files in order and account for pixel remainders
Download the ZIP or save the individual tiles. The tool numbers the pieces left to right and top to bottom. In a 2 × 3 layout, tiles 1, 2 and 3 are the top row. Files 4, 5 and 6 are the bottom row. A file manager sometimes sorts names differently than expected, so use the numbers to arrange them before uploading or reassembling them. A destination that shows the newest item first can display a profile mosaic in another order.
For a 1001-pixel-wide source with three columns, the splitter places boundaries at x = 333 and x = 667. The column widths are therefore 333, 334 and 334 pixels. Every pixel is assigned to a tile. If identical sizes are required, prepare a divisible source first. For example, a 1002-pixel working width gives three equal widths of 334. Decide whether a tiny crop, resize or padding is appropriate before making the cut. Arbitrarily resizing one output tile can break continuity along the edge.
Verify seams before posting
Open the files in an editor that supports a canvas with exact pixel placement. Create a canvas the same size as your source. For the 1536 × 1024 example, place the first row at y = 0 and the second at y = 512. Place files within each row at x = 0, 512 and 1024. Check that adjoining edges meet with no gutter. For uneven tiles use the sum of the previous tile dimensions as the next position. A collage maker that fits images inside padded cells is a poor choice for this particular test, since it can introduce seams of its own.
Use PNG for transparency or for comparing the decoded pixels without lossy JPEG encoding. For photographs, JPG may produce smaller files. Compare the pieces at the final size because compression artifacts can be especially visible where there is small text or a hard line at the cut. Save the clean full image and make future exports from it. When uploading the final sequence, check the displayed crop, file order and joining edges as separate steps.